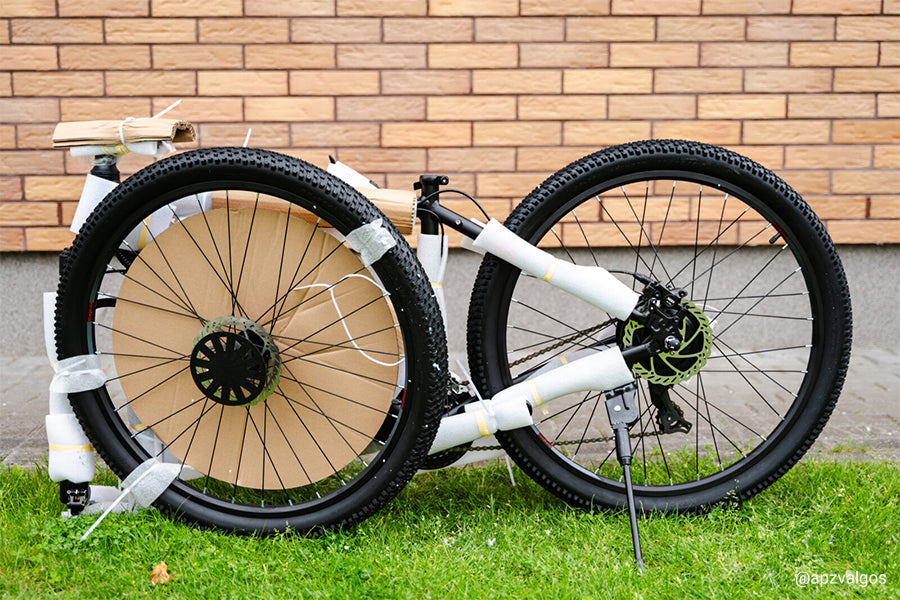
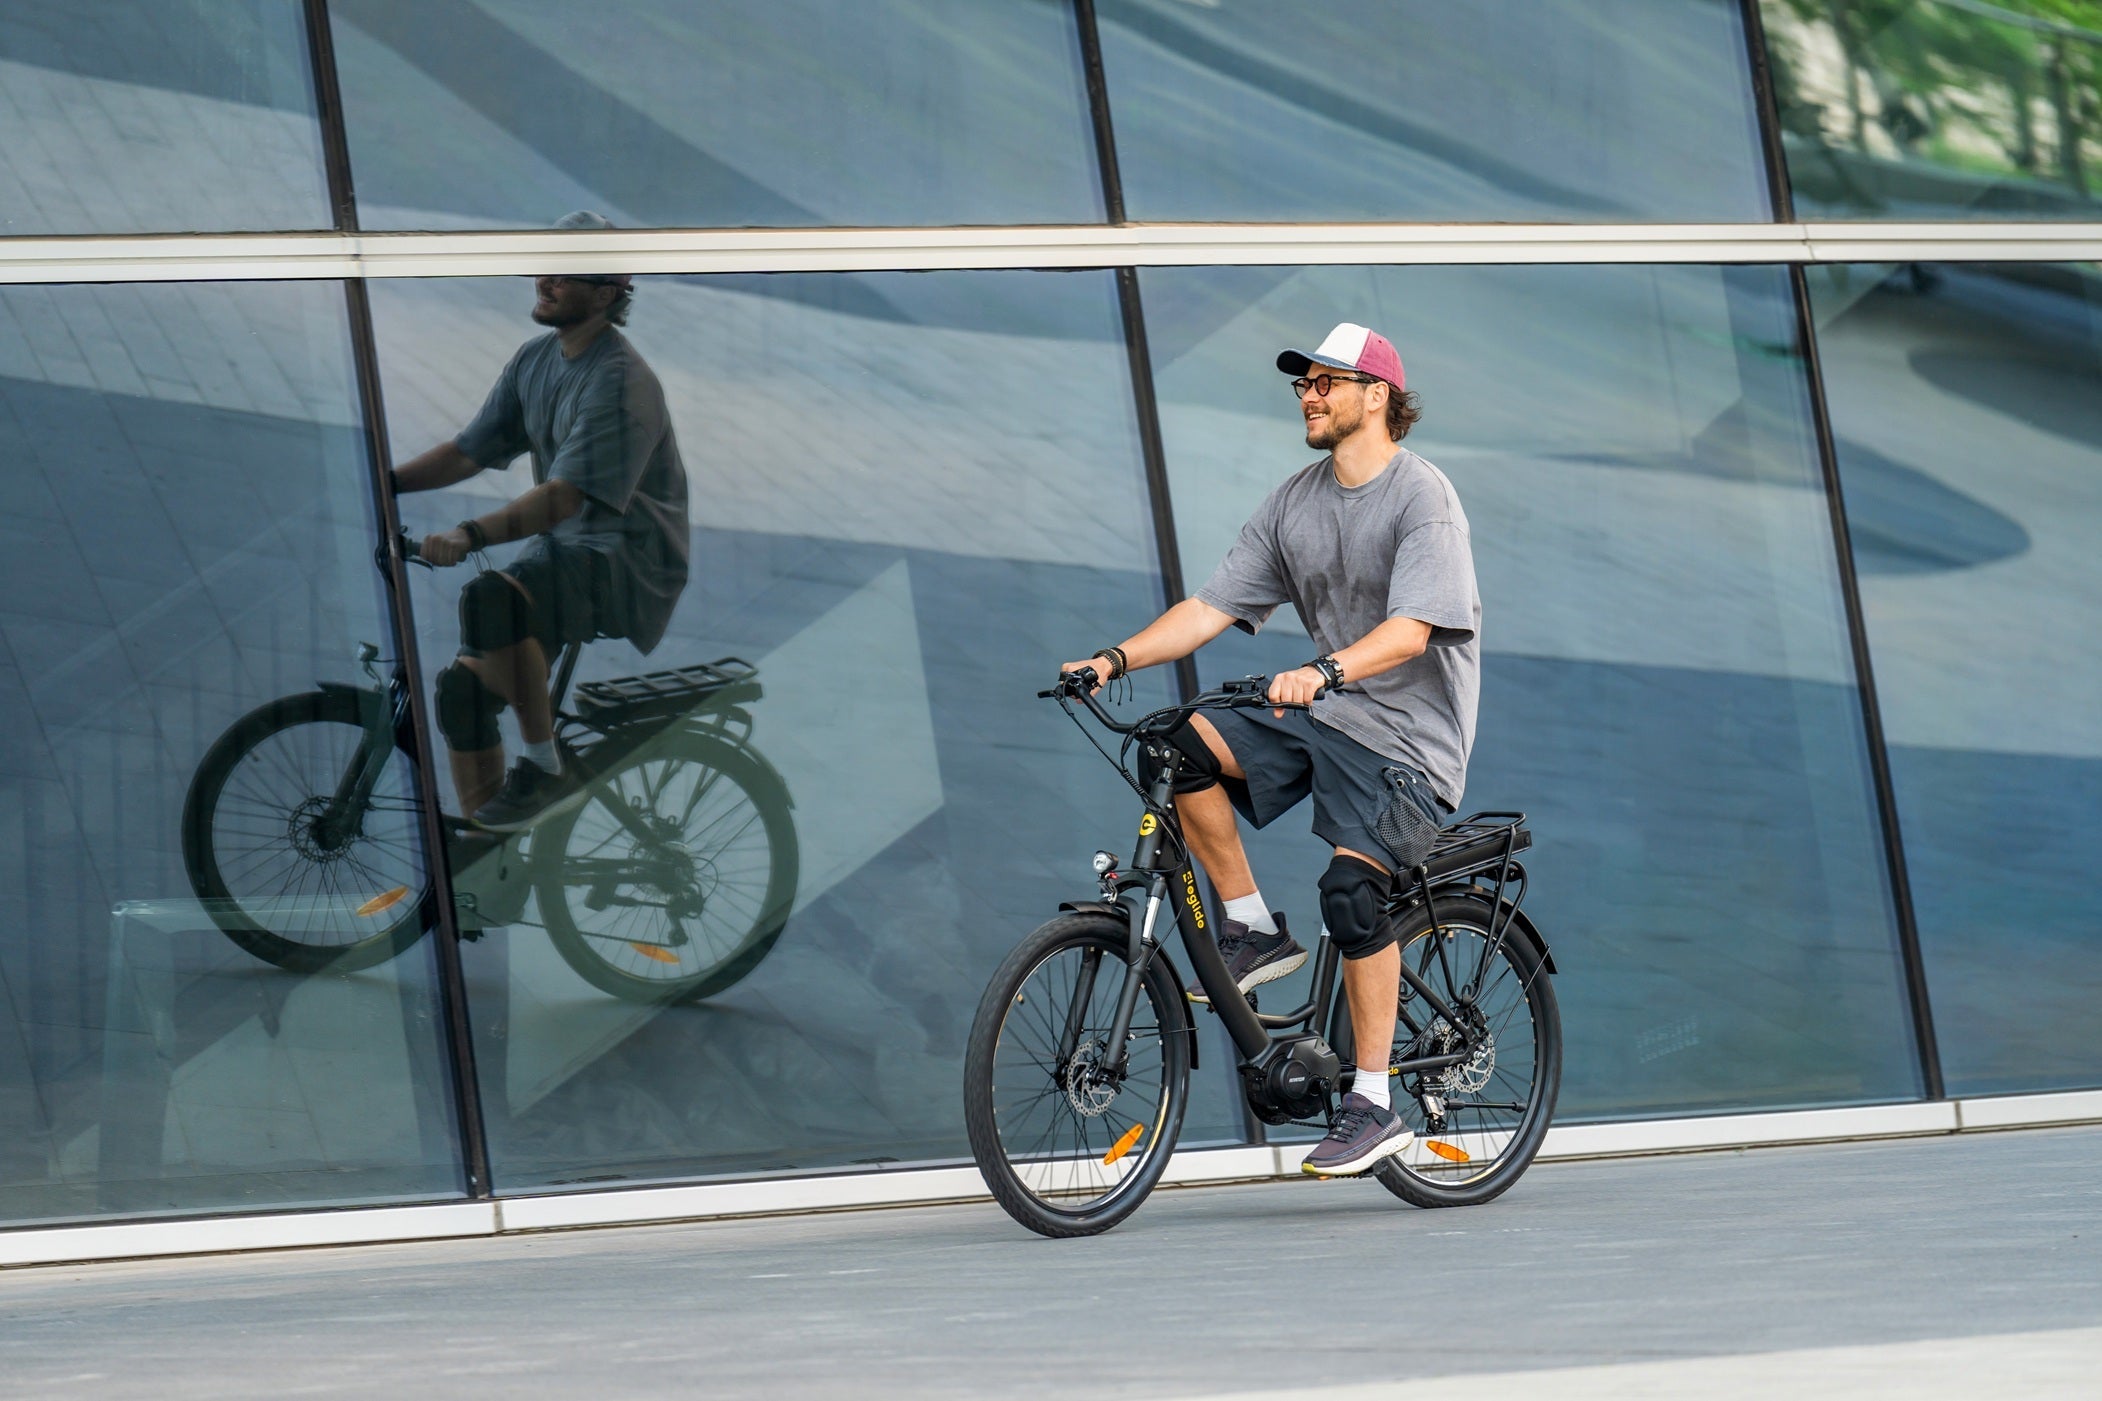
Your Eleglide M2 comes partially assembled, which requires easy installation of the remaining parts.
Step 1: Adjust The Stem
A) Undo the stem bolts slightly till you can turn the stem.B) Align the stem with the front wheel.
C) Tighten up the stem bolts.

Step 2: Install The Steering Bar
A) Undo the handlebar clamp bolts to open the clamp.B) Place the handlebar and make sure the clamp is in the middle of the handlebar. (The brake leversshould be in front of the grips.)
C) Tighten up the clamp bolts to lock the clamp.

Step 3: Install The Front Wheel
A) Put the bike upside down.B) Loose the nut to remove the temporary protected bar.
C) Insert the wheel between the fork blades so that the axle can seat firmly at the fork dropouts (theslots at the tip of the fork blades).
D) Put the gaskets on it and tighten the nuts.

Note: If the lever cannot be pushed all the way to a position parallel to the fork blade, return the lever to the OPEN position. Then turn the tension adjusting nut counterclockwise and make a one-quarter turn, and try tightening the lever again.
Step 4: Install The Front Light
A) Place the front light with the fork brace.B) Secure the light by tightening up the bolt.
C) Connect the light cable with the bike cable.

Step 5 Install The Pedals

Step 6: Install The Seat
A) Put the seat post into the support frame.B) Adjust the seat to a suitable height and fix it by locking the quick-release clip.

Step 7: Install The Battery
A) Put the battery in the right position and unlock the battery before you use it.
Step 8: Install The Reflectors

Step 9: Turn The Power on
A) Press the on/off button on the control panel to turn the power on. Then it’s ready to go!


Share: